Saturday, December 10, 2022

Siding

This was overdue. I bought basic brown and then managed to spill the entire gallon in the hardware store parking lot. So I scooped it up with cardboard. ponderous. Sometimes the first thing I do is some ugly mishap. I was extra careful to avoid adding more amputations or falling off the ladder. Really irks me to pour paint on asphalt right after I buy it.


This is the original approach they took when they built the umbrella roof over the original roof. Board and Batten. Then they decided to just cover it with cardboard...which must've been a choice to save money on paint. Not sure.


I will do another coat of paint asap.


Who doesn't love some metal band 15 feet from their bedroom giving me a soundtrack to work by?


Saturday, May 14, 2022

lime wash

So, I would recommend testing limewash on an area before going whole hog. I've had mixed results from applying a concrete bonding agent .to the paint and then applying the limewash. Sometimes it seems to bond well and other times it dries very quickly, does not bond and then flakes off in 24 hours. Actually, I would not recommend using limewash over paint at all. It's setting me up for a messy job of removing ALL the limewash with a pressure washer before I can apply real paint again. I like the IDEA of coloring a wall for $12 worth of limewash instead of $120 worth of paint, but the reality is this won't last as long as paint. Now, if you are applying limewash directly on brand new stucco or adobe then you will probably have better results. I applied some limewash on bare cinderblock and the stuff looks excellent 3 years later. But the exterior wall facing the wind and weather is different and it had old paint on it that is not a good surface for limewash so I scraped it and applied the bonding agent. I also used a mist sprayer as it was drying so that it did not dry too fast. That might have helped. I'm not sure. This is a learning experience and paint or colors are easy things to mess up and try again. There is not great disaster here. I am thinking a gold for the top wood, taking my color palate from the movie Encanto.

The plumbing is a different story, as I spent 6 months trying to get a plumber to give me an estimate for how much it will cost to replace my sewer line. Several came to look at it but they were not interested in giving me an estimate and I'm certainly not going to twist anyone's arm into taking $10k from me. IF they don't want the job then I don't really want them so I will broaden my search into surrounding areas. I even considered getting a plumber's license myself but the performance bond is like $4200 which I lose for 2 years. It insures me for about $750k worth of damage. And if the whole job costs $5k to finish then I will spend $10k either way and it makes me nervous to dive into the asphalt with no idea what to expect there.

So, I'm looking for some work again and will revisit the plumbing project in the Winter of 2023.


I pulled many cactus thorns from my hand.

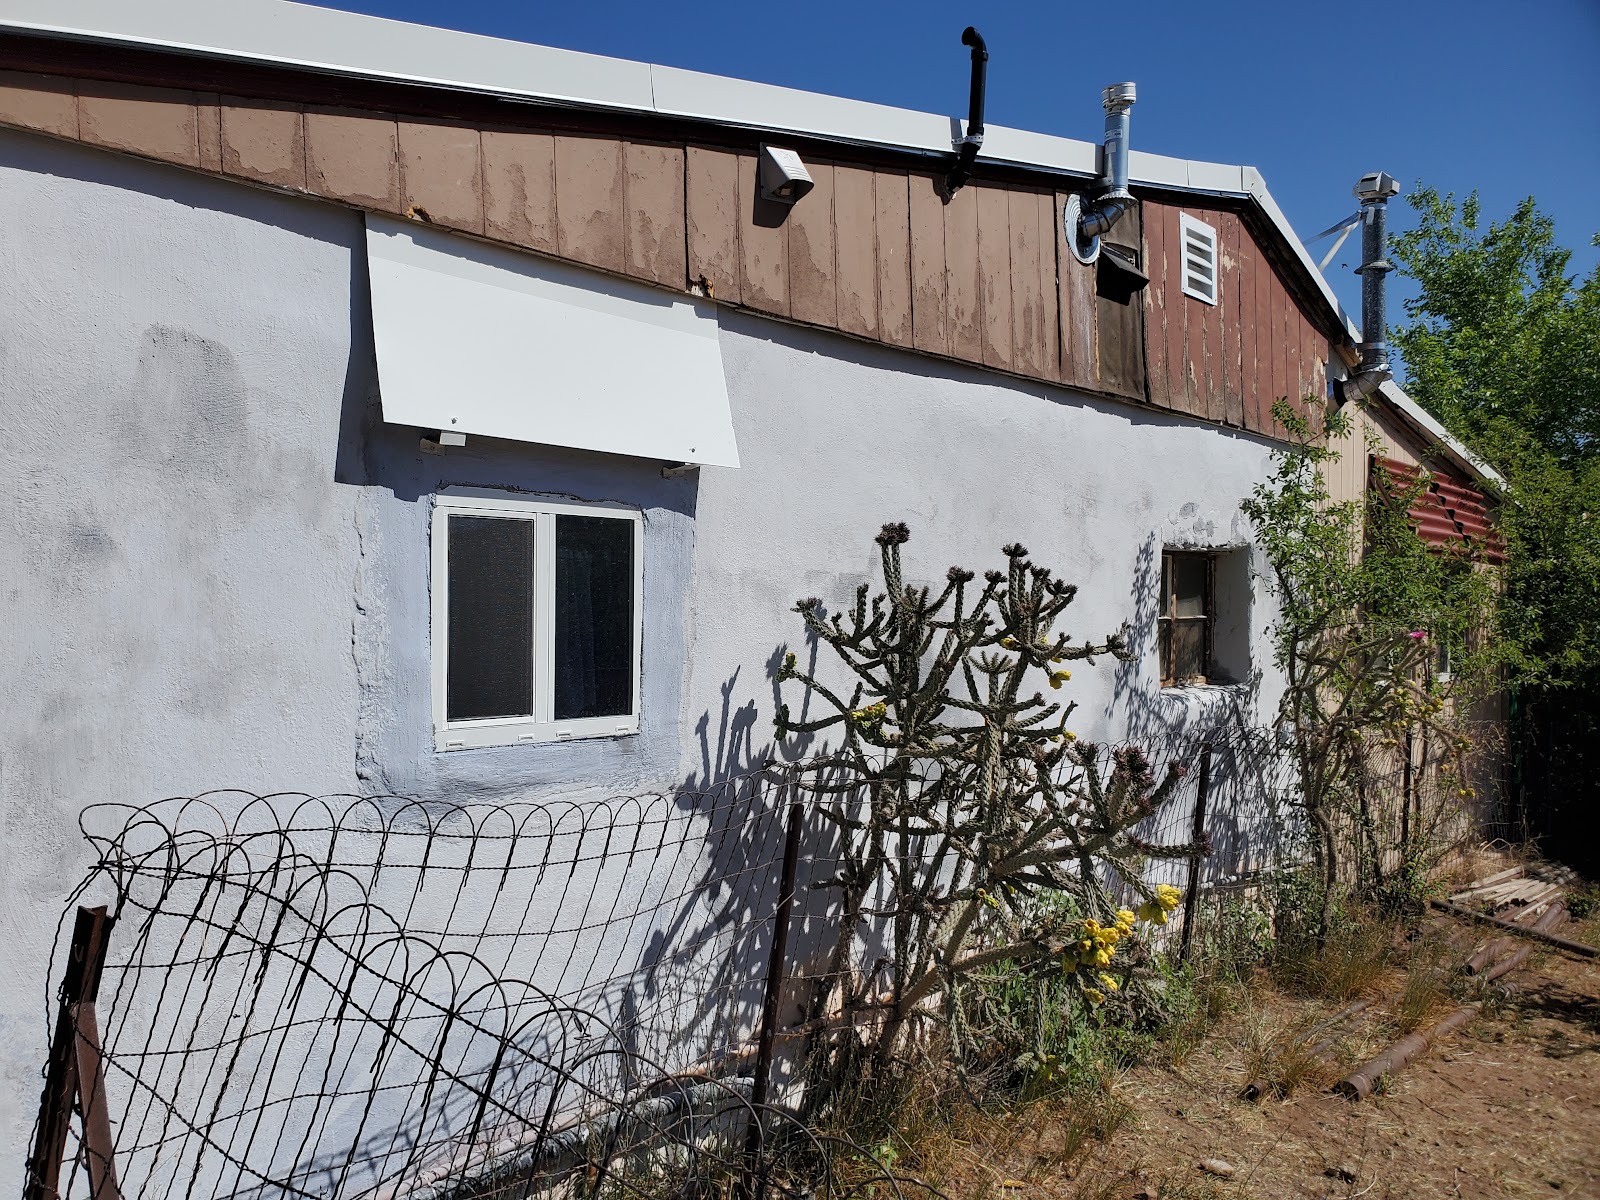
That awning looks a bit out of place, but it does the job.

Maybe Gold as a tribute to the Conquistadores.

Tuesday, January 25, 2022

Motorcycle Repair


Motorcycle Tire signage soon to be flower planters

This is more than a Honda Rebel deserves, but I bought the parts so they might as well be on the bike New front brake pads, new rear brake shoes, new tires, new front tube, new fork seals. I will say that working at midnight with some disco music on my garage radio, drinking coffee, wrenching, drilling, all on my own bike on my own property...was bliss. A dream come true after 40 years of doing this kind of work in a library parking lot or illegally in a tow yard or on the side of the street with rain pouring in the window and Nicaraguan military police shouting orders.

Speaking of fork seals...this is the bolt that someone put locktite on and thus stripped out when I tried to extract it. I managed to fight with it and basically destroy it in the process, but it is a basic socket cap bolt. 8mm 1.25 pitch. 27mm long, but 25 mm also worked for $2.
The 
Part # 90116-383-721 is unnecessary to buy. Just go to the specialty bolt section at Ace or home depot and get a 8mm, 1.25 pitch in the 25 mm length. put some loctite on it and use it.

Really sucked getting the rear axle on. The smaller wheel spacer goes on the left side INSIDE the hub...the bigger spacer is on the right side, which is the side the axle is inserted into first. Then use a rubber mallet to push it through the wheel spacer...then through the wheel hub, out the other side through the smaller spacer and then through the swing arm. It took about 20 tries...

What a total pain it was to break the bead on the rear tire. I had to use a pry bar. Fortunately, the inner tube meant I did not have to battle with the bead when I put the new tire on.


One More Window

This latest window was not quite as terrible as the previous one because there is not a wire fence 6 inches from the wall that forced me to squeeze between the two and puncture my gallbladder with cactus thorns. This one merely required that I decide how deep I wanted to dig before rebuilding. Needless to say I wanted to dig superficially because the deeper I dig, the more damage I do. This window frame had elements that looked 90 years old and were definitely worn out, but in this climate I estimate they would last another 90 years. So, that puts it out of Oggy's lifetime. Someone put some work into building this raised stucco bump out so the trim boards are not proud of the wall. That was at least a good enough job for me, so I painted the old wood and put it back where I found it. Yes, a little rain would drift into the trim area but I can't say I'm concerned. The shudders are staying where they are and should deflect some rain. The rest will find a way down and over the wall. It's not a big deal. The important thing is the dust and rain will not penetrate the window.  


This isn't even the worst this window has looked. When I bought the house a rock had been thrown through the window during a rain storm so water poured inside...and the window was broken and boarded up. I tried to fix the window but of course the hardware guy measured the window too small so the pane of glass didn't fit and I needed to use tape to hold it in. 3 years later I finally replaced the whole aluminum frame and single pane glass.

Not a trainwreck, so I left it as I found it.


These Vinyl windows had nail fins that were way too big. I always have trouble with the 3 different dimensions....nail fin, window frame...window opening. And getting them to match. This required I cut off the side nailing fins, and then screw THROUGH the inside of the frame of the window. Since the fin was gone. And I also had to drill into the stucco and use concrete screws in multiple places.


A little paint and some new lime wash makes it look ok.

Wednesday, January 12, 2022

Gym

 This is my approach to a shade structure for my outdoor gym. We don't get a ton of rain, maybe 8 inches a year, but the sun will destroy anything other than steel in about 1 season so I needed shade and maybe some protection from mosquitoes...and a little privacy. The answer was a shed kit with these plastic connectors for 2"x2" lumber. I'm not in love with the small dimensions of the lumber and the connectors were mostly OK but the bottom of the truss doesn't do much. It's just a tiny bit of stability.

I hunted hard for a cheap approach but $1000 in materials is about the minimum this project can be done. That includes the 120 pavers, the pressure treated bottom frame...all the lumber...the metal roof and the shade cloth.

Pavers...$120

Metal roof ...$200

plastic connector kit...$200

Lumber....$300

Shade Cloth...$100


There is an argument that spending $1000 to protect $600 in gym equipment makes no sense but I must stress how hard it is to find this equipment as far out in the desert as I am. It'll cost another $100 to get electricity to it so I can ditch the extension cord.


totally inadequate open air gym that gets too much sun

Window to the World

This train wreck of a window was nagging me. I was almost certain the wall would collapse if I took anything apart because there is nothing supporting the window void except the window...which is an aluminum frame. But something had to be done so I tore into it.