I made and embedded this window so I could prove that the house walls are made of dirt. Nothing but the finest dirt.
Saturday, March 7, 2026
Thursday, August 21, 2025
Vaguely complete
This was a project that involved all my skills and trades. Many moving parts because the plaster walls were crumbling and the furred wall was in the way and the load bearing wall had to be propped up and a beam had to be made and then stabilized and the concrete floor had to be repaired. It was also an inferno here and working with fresh plaster made the room a sweltering sauna of old technology. But it's basically complete. The wall is gone and I added curtains and now the air conditioning works for my new bedroom and the plaster wall is completely repaired although not perfectly flat or flush with the old plaster but it at least is not allowing the adobe brick to deteriorate into the room. There is no point in adding drywall so I painted the old framework and hid the new electrical behind some trim boards. As if the biggest problem with this house is going to be exposed romex.
There was another project involving the pressure release valve on the water heater that led nowhere so I had to drill a hole in the wall and then plumb a drain for the valve and also the newly installed drain pan.
 In general I started with too much lime plaster and it had to be too thick and then if just fell apart. This involved a huge amount of mixing lime and sand and water with a drill that then burned up due to using an extension cord that was 16 gauge. But not before I mixed my last batch of plaster.
| ||

 |
| The final beam in place. I would not linger under it for hours and hours but it's basically safe. |
Saturday, July 5, 2025
Walls crumbling down
The plan is to add a framed window into the wall so the adobe will be on display forever.
I was shoveling the decayed plaster into a bucket and carrying it through the rain to a pile of debris ready to go to the dump.

Monday, June 30, 2025
Back in DIY Mode
Endless work that is rewarding but the casual guest would not even notice I've done anything. The drywall had to come off so I could repair the old plaster with Lime Plaster. And the AC condenser pan decided to crack and leak so that involved gluing the cracks while I hunt for a replacement pan. The wall needed a ton of lime plaster.
 |
| cracked condensate pan |
 |
| all the bottom 30 inches of this house have plaster that has turned back into dirt |
 |
| This takes a huge effort of mixing lime and sand and water and hurling it against the dirt. |
 |
| This wall has to be rearranged so I can benefit from the air conditioner in this area and also so I can fit a queen sized bed. the wall's only purpose is keeping the roof from caving in but I have plans to replace the framework with a big beam. |
 |
| the arthritic fingers on Oggy's hands have almost reached their limit which is why there is no time to delay to get this work done. He will soon be too handicapped to do it. |
Monday, June 5, 2023
Sewage Line
An epic, historic event took place this past April when I replaced the old Orangeburg sewer pipe that served this house. The project itself was a 2 week binge of digging and purchasing, but that was merely the sweat work. What preceded the labor was a period of 4 months in which I immersed myself in plumbing codes in order to pass the plumbing contractor test. I'm not even a fan of plumbing but I could not convince the city to permit me to do the work myself since the work was entirely on the public right of way. As a homeowner I am allowed to dig into the plumbing as long as it's on my property, but once it involves the sewer line to the main city sewer in the middle of a paved street, then I need a right of way permit and that can only be issued to a licensed plumbing contractor. A general contractor would not even be allowed to do that work. It must be a specialized trade CR-37 commercial and residential plumber with a bond. And the only way to get that license is to pass the state plumbing test And purchase a surety bond and complete the licensing application with fees and background checks etc. But I was left with that option OR pay a local plumber despite being totally unimpressed with the discussions I had with them...and unimpressed with their attitude and their workmanship as well as having zero confidence in their ability to ever complete the job at any price. Basically, I had local plumbers who were not worth $100 giving me a quote for $13,000...with no guarantee the project would ever be complete and definitely not to my standards. So, I'd be paying $13,000 to argue with an incompetent plumber who has a license and then do most of the work myself since they would never agree to go the extra mile. That made no sense. But the prospect of passing the plumbing test and then buying a surety bond and applying for the license and then manually digging a 140 foot trench didn't appeal to me either. What to do??
 |
| The Author pictured in march 2020 fixing the non-existent sewer line from his house to the sewer main. |
Saturday, December 10, 2022
Siding
This was overdue. I bought basic brown and then managed to spill the entire gallon in the hardware store parking lot. So I scooped it up with cardboard. ponderous. Sometimes the first thing I do is some ugly mishap. I was extra careful to avoid adding more amputations or falling off the ladder. Really irks me to pour paint on asphalt right after I buy it.
 | ||
This is the original approach they took when they built the umbrella roof over the original roof. Board and Batten. Then they decided to just cover it with cardboard...which must've been a choice to save money on paint. Not sure.
|

Who doesn't love some metal band 15 feet from their bedroom giving me a soundtrack to work by?
Saturday, May 14, 2022
lime wash
So, I would recommend testing limewash on an area before going whole hog. I've had mixed results from applying a concrete bonding agent .to the paint and then applying the limewash. Sometimes it seems to bond well and other times it dries very quickly, does not bond and then flakes off in 24 hours. Actually, I would not recommend using limewash over paint at all. It's setting me up for a messy job of removing ALL the limewash with a pressure washer before I can apply real paint again. I like the IDEA of coloring a wall for $12 worth of limewash instead of $120 worth of paint, but the reality is this won't last as long as paint. Now, if you are applying limewash directly on brand new stucco or adobe then you will probably have better results. I applied some limewash on bare cinderblock and the stuff looks excellent 3 years later. But the exterior wall facing the wind and weather is different and it had old paint on it that is not a good surface for limewash so I scraped it and applied the bonding agent. I also used a mist sprayer as it was drying so that it did not dry too fast. That might have helped. I'm not sure. This is a learning experience and paint or colors are easy things to mess up and try again. There is not great disaster here. I am thinking a gold for the top wood, taking my color palate from the movie Encanto.
The plumbing is a different story, as I spent 6 months trying to get a plumber to give me an estimate for how much it will cost to replace my sewer line. Several came to look at it but they were not interested in giving me an estimate and I'm certainly not going to twist anyone's arm into taking $10k from me. IF they don't want the job then I don't really want them so I will broaden my search into surrounding areas. I even considered getting a plumber's license myself but the performance bond is like $4200 which I lose for 2 years. It insures me for about $750k worth of damage. And if the whole job costs $5k to finish then I will spend $10k either way and it makes me nervous to dive into the asphalt with no idea what to expect there.
So, I'm looking for some work again and will revisit the plumbing project in the Winter of 2023.
 |
| I pulled many cactus thorns from my hand. |
 |
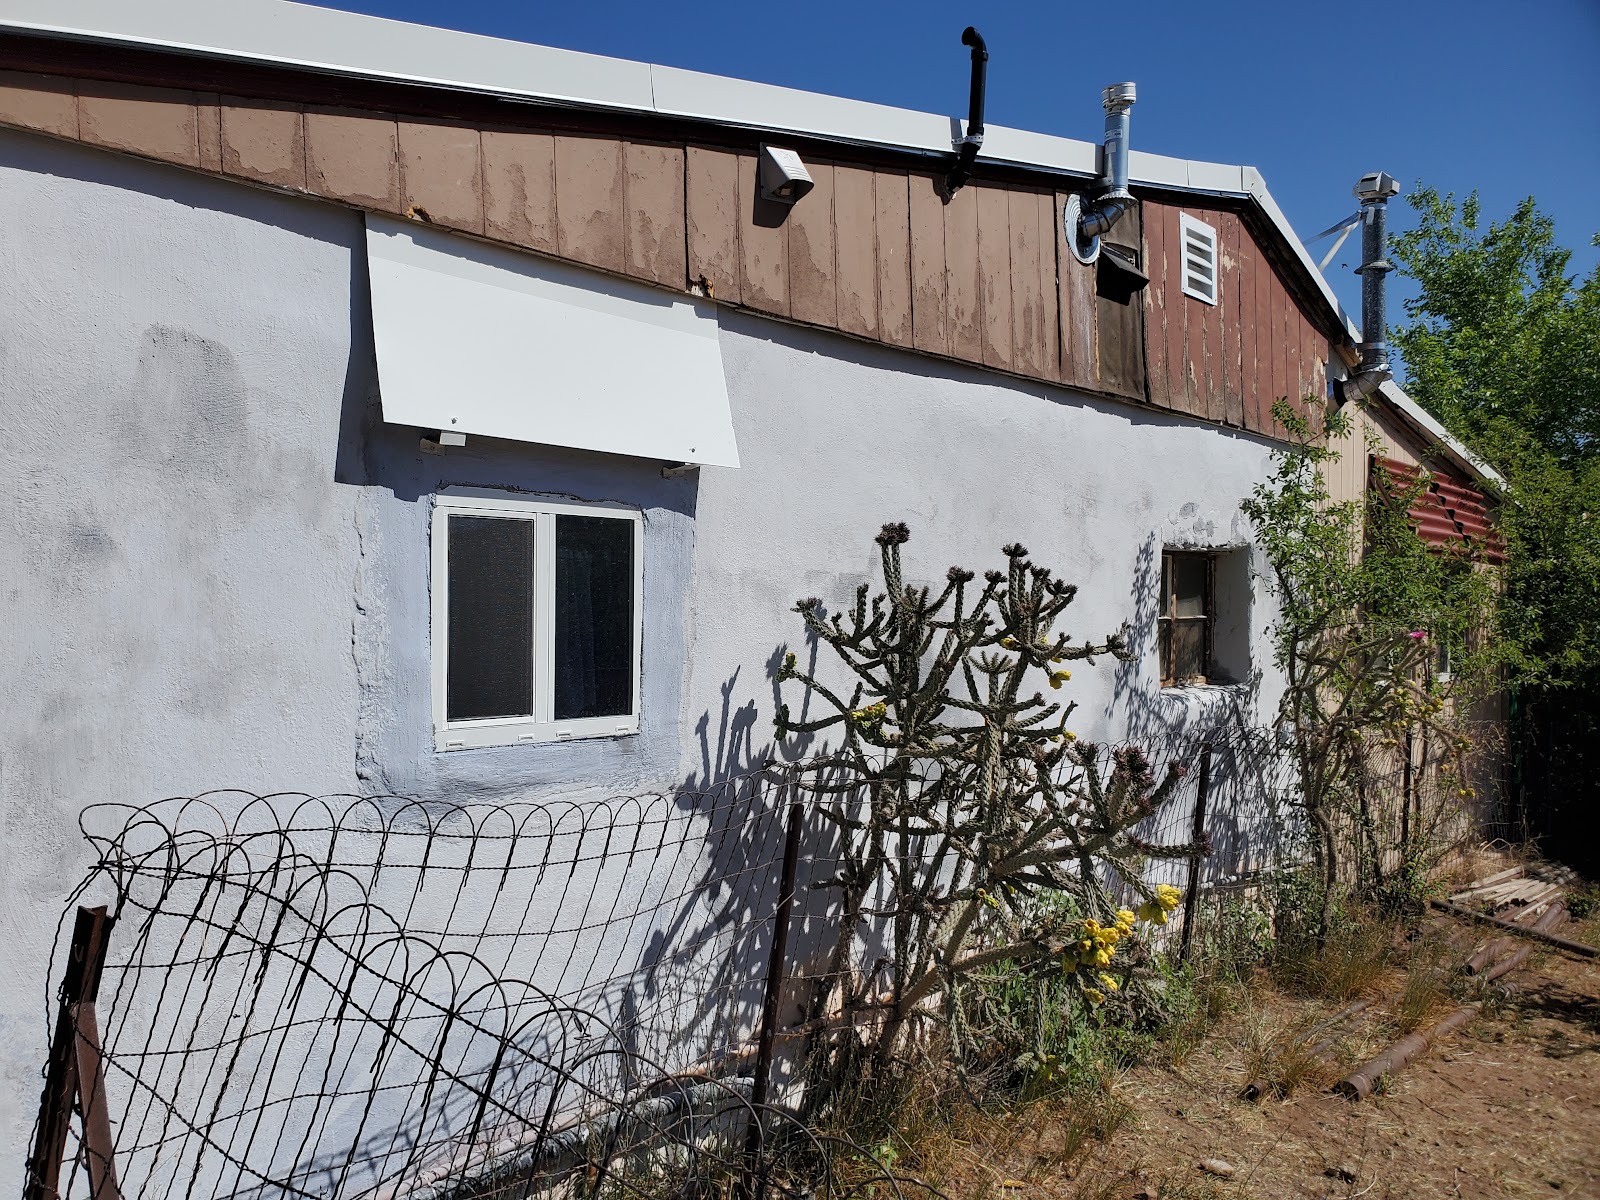
| That awning looks a bit out of place, but it does the job. |
 |
| Maybe Gold as a tribute to the Conquistadores. |
Subscribe to:
Posts (Atom)